With the Billomat template editor, you can easily personalize the standard templates using drag and drop.
How do I create my template?
Tip: If the options offered by the standard templates are no longer sufficient, you can also upload your own templates in Word format.
Step 0: create a new template
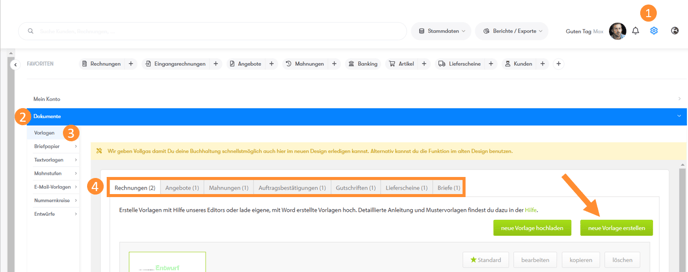
- First, navigate to Settings > Documents > Templates
- Here you can select different tabs (see step 4 in the picture below). For example, we selected the Invoices tab because we want to create an invoice template.
- There you click on Create new template.
Step 1: basic settings
To start with, you should literally set the framework for your bill. The following steps will lead you to your goal:
- Set the name of your template.
- Choose the format you want your invoice to have.
- Choose a font.
- Determine the general page layout by setting the margins, fold marks, page numbers, font sizes and possible backgrounds.
Step 2: header
The header, like the footer, will be displayed on every page of your documents if you activate this option.
- Logo: This must be in JPG format and is placed in the upper left corner of your document with approx. 200 dpi (100 pixels correspond to 12.5 mm).
Tip: Logo too big? Here you can find out how you can embed the logo smaller.
- Address and contact details: You can enter these as text that appears right-justified at the top of every page.
You can enter any text or use so-called placeholders. You can find out which placeholders are available to you under general information about placeholders.
Note: You should not enter more than 11 lines in the header, otherwise it could overprint other texts.
Step 3: address field
The address field is directly below the header and shows you which customers your invoice will be sent to. Here you can have your sender address mapped so that your customer can see at a glance exactly where the invoice comes from.
Step 4: positions
You can imagine the positions of the invoice as a table that is structured as follows:
- Columns: Categories (which you determine yourself using drag & drop, see below)
- Lines: Articles (which you will insert later in your document)
Insert categories using drag & drop
To do this, click on a category from the bottom line and hold the mouse button down. Now you can drag the category to any position in the top line. The other categories will now adapt to your selection.

The header of the table in your documents, which you create from the template and to which you attach articles as lines, will then look like this:
| position | price | description |
Adjust fonts and sizes
Here you can adjust the font and size of the following elements:

- first line (header) of the table
- further lines (positions)
- Sum and taxes
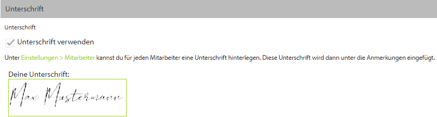
Step 5: use signature
If you have saved a signature for each of your employees, you can automatically insert this into your invoice. To do this, simply activate the Use signature checkbox.
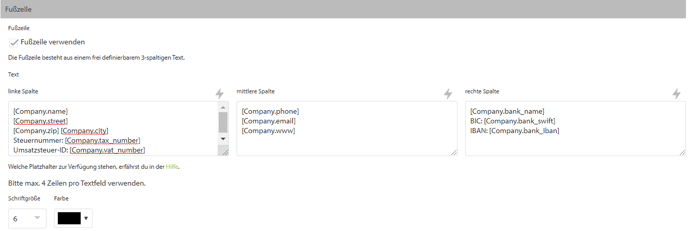
Step 6: customize footer
In the footer you have 3 columns which you can fill with text. Here it makes sense to store the following:
- Bank details
- tax number
- Place of jurisdiction
- further mandatory information
Here, too, you can use placeholders again - you can enter them manually or easily insert them using the lightning bolt symbol on the right above the individual boxes.
Step 7: final adjustments
In the last step you can adjust the font sizes and colors of various text modules. Try a little bit here to adapt your invoice perfectly to your corporate design.